Discover The Best Mini Split Installation Location In Your Home
Ductless mini split heating and cooling systems are a great choice for high efficiency, low operating costs, and easy installation. If you are considering ductless heat pumps or air conditioners for your home, learning the basics of mini split placement and understanding how to install a mini split can help you make the decision.
Of course, professional mini split placement and installation will maximize the performance of your investment. That’s why we recommend contacting your local Carrier expert. An experienced HVAC technician will recommend properly sized equipment and mini split placement that work best for your home.

Where to Install Mini Split Systems
A mini split system is perfect for any room or home with no available ductwork or to supplement forced-air systems. And, knowing where to install mini split indoor and outdoor units in those locations can really make a difference.
With central air, placement of the indoor unit is largely pre-determined by existing ductwork. The question of where to install mini split indoor units is quite different. Because it is installed in plain sight within the room, mini split indoor unit placement takes a little more thought.
The best places to put a mini split system is somewhere that allows the air handler to circulate air effectively; provides convenient access to the air filter for regular cleaning; makes the connections to the outdoor unit easier; and allows easy installation of the condensate drain.
You’ll also need to give some thought to mini split outdoor unit placement. The outdoor unit will need to be in reasonable proximity to the indoor unit, be placed on a solid and level surface, and have clearance for airflow.
Best Mini Split Placement: Indoor Unit

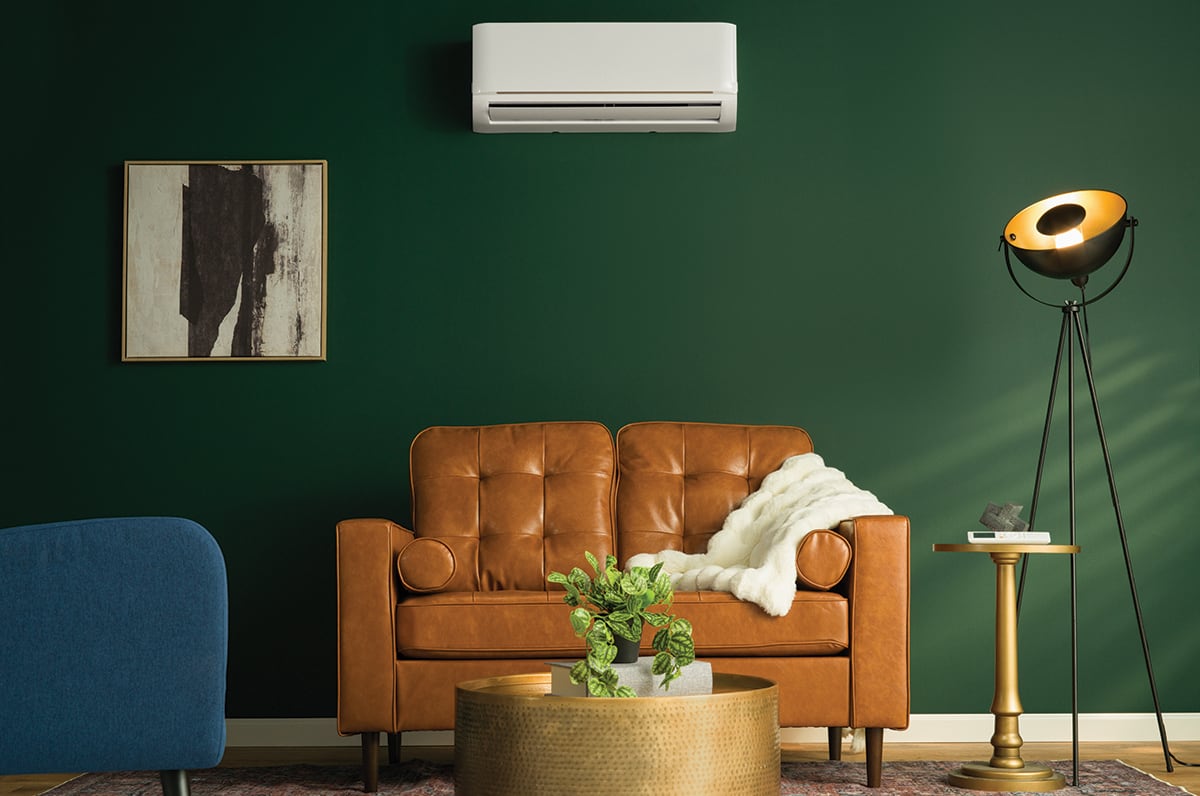
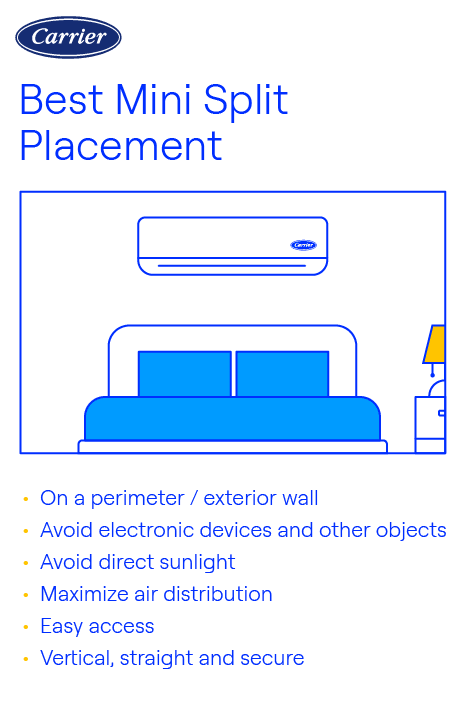
Mini split indoor unit placement is more than just wall mounting it where it’s out of the way or blends with your decor. Here are the best places to put a mini split system:
- Place your indoor unit on a perimeter/exterior wall: A perimeter/exterior wall allows for a more direct connection between the indoor and outdoor units, and a direct path outside for condensate drainage. Interior wall installations add costs due to the greater complexity of refrigerant line and electrical connections, and may also require installing a condensate pump.
- Avoid electronic devices and other objects: TVs, computers, light fixtures or other heat sources can affect the unit’s ability to read the room temperature. Shelving, furniture and other décor may alter the airflow which can also affect your comfort.
- Avoid direct sunlight: Direct sunlight can affect the ability of indoor air handlers to properly monitor and read the room’s temperature.
- Maximize air distribution: Find a location that allows air distribution to the entire room. Wall mounted units should be placed about 6-7 feet from the floor, but not too close the ceiling. Follow the manufacturer’s recommendations for best placement.
- Easy access: Be sure the unit is installed in a location that allows access for periodic maintenance and filter cleaning.
- Vertical, straight and secure: The unit should be mounted on a vertical wall only – not on an angled wall or ceiling -- and should be secured to studs.
The Best Mini Split Distance From Ceilings
A question that is commonly asked is, “what is the best mini split distance from ceilings?” The best answer is to read the manufacturer’s installation instructions on where to install mini split units. However, a good rule of thumb for installing a mini split indoor unit in a room with standard ceiling height is about 6 feet from the floor. A wall mounted air conditioner placed too low won’t properly distribute the heated or cooled air. And, the unit will need to have room for unobstructed airflow into and out of the cabinet to work efficiently.
Best Mini Split Placement: Outdoor Unit
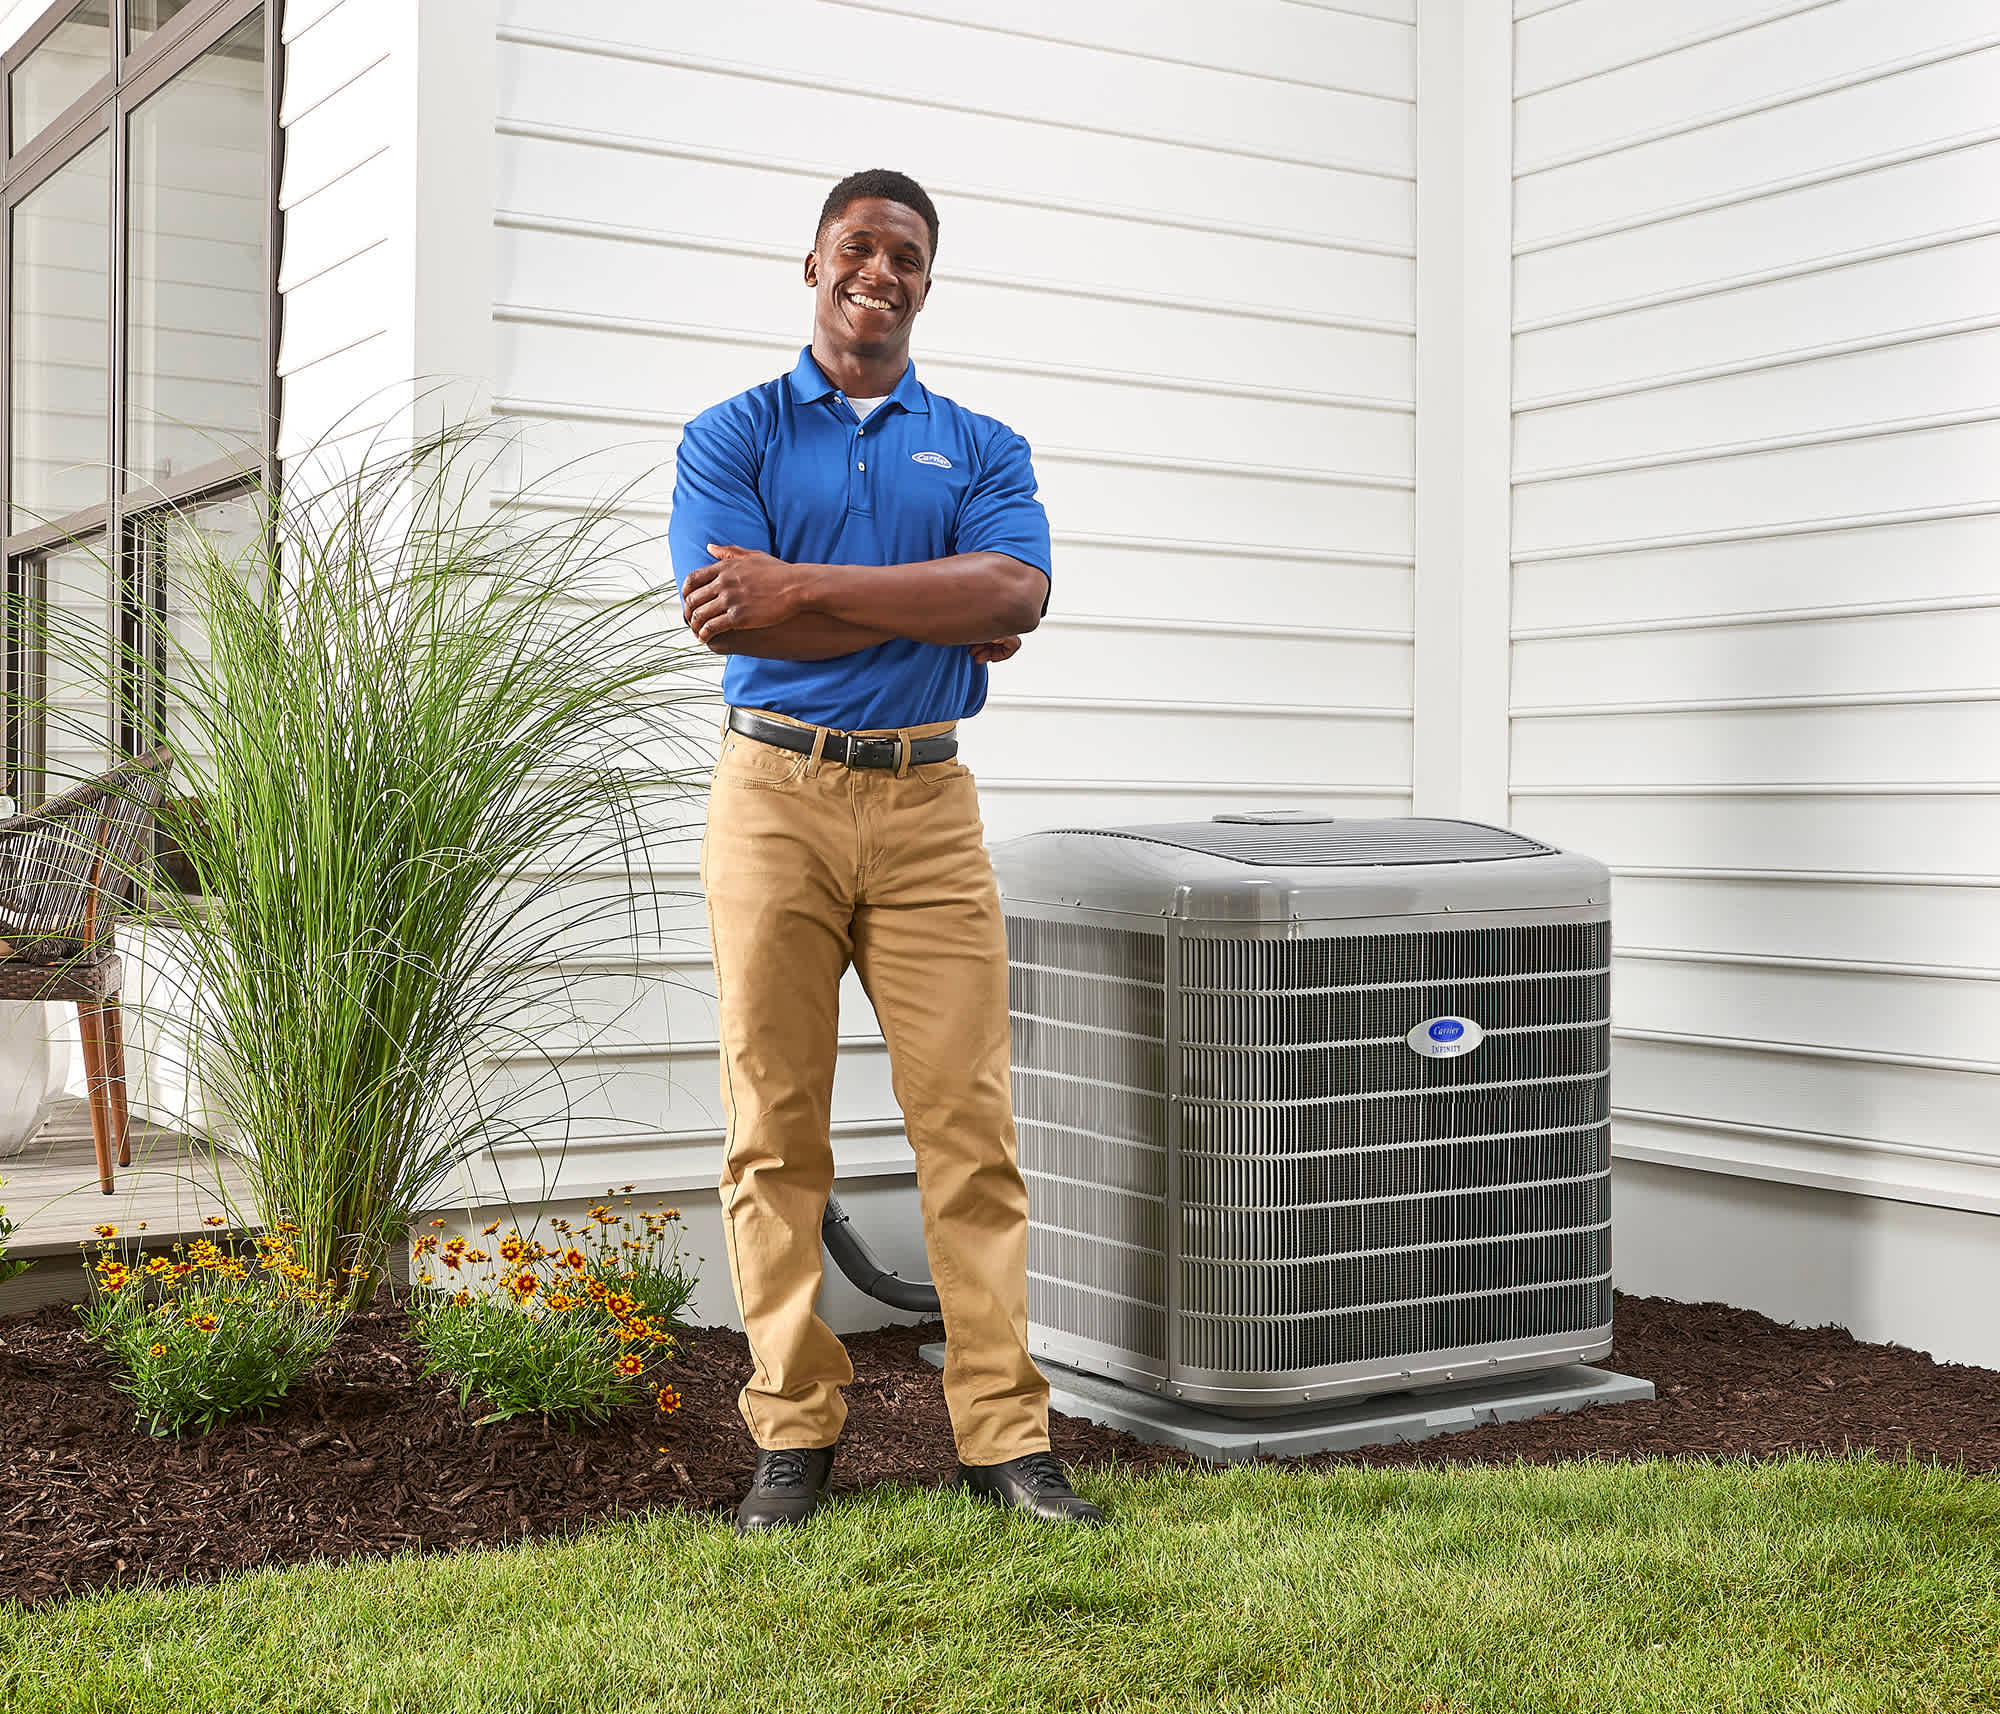
Mini split outdoor unit placement follows similar guidelines as outdoor condenser units for central air conditioning. Avoid placement near shrubbery or other obstructions because the outdoor unit needs airflow to operate properly. And both types of outdoor units need an even surface to sit on – typically a concrete or composite pad.
A mini split outdoor unit can also be placed on your rooftop, or on an exterior wall with specially designed mounting hardware. And it can be placed 100 feet or more from the indoor unit. Keep in mind that the farther away it is, the more efficiency the system can lose.

Best Places to Put a Mini Split System
To summarize the best places to put a mini split system, ductless heating and cooling systems are most often used for room additions, converted spaces, homes with no ductwork, and as a supplement to an existing forced air system.
To ensure the best performance and efficiency, install a mini split indoor unit on a vertical perimeter wall, at the manufacturer’s recommended distance from the floor or ceiling, away from heat sources and located for maximum air distribution. The outdoor unit should be on a solid, level base close to the indoor unit and allowing space for airflow into and out of the unit.
Following these basic ideas, ductless mini split systems can be a cost-effective and energy-efficient solution for heating and cooling your space. Learn more about mini split efficiency and ductless mini split installation cost.
Discuss Best Mini Split Installation Location With A Carrier Dealer
A Carrier expert can assess how big of a mini split you need and recommend the best system and system location for your needs. And, once the new system is in place, your Carrier dealer can be your complete source for preventative mini split maintenance, tune-ups and more. Find a Carrier expert today to see the best places to put a mini split system in your home today.

Frequently Asked Questions About Best Mini Split Placement
- What is a ductless mini split?
- Can you install a ductless air conditioner for garage?
- Learn about mini split repairs
- How long do mini splits last?
- Discover mini split pros and cons
- Compare single vs. 2-zone ductless mini split

